← Knowledge baseThe Blight

The Blight

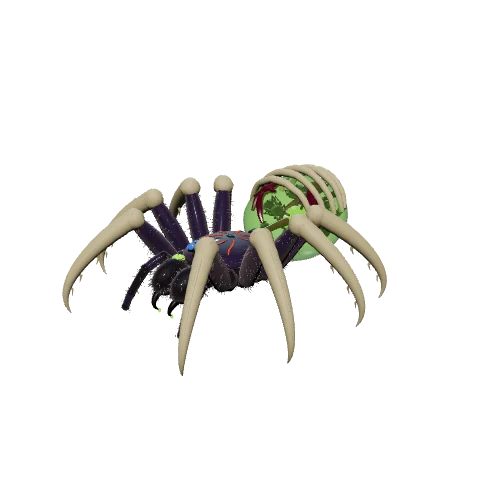
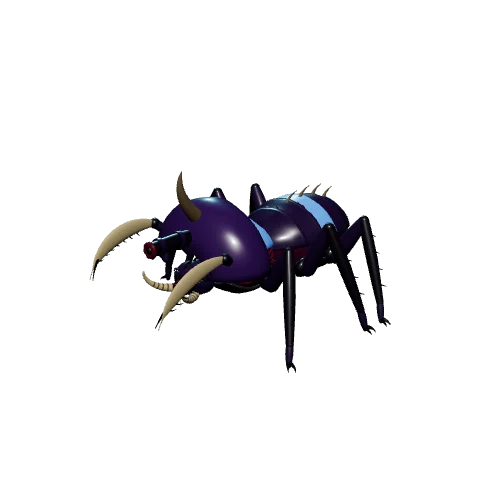
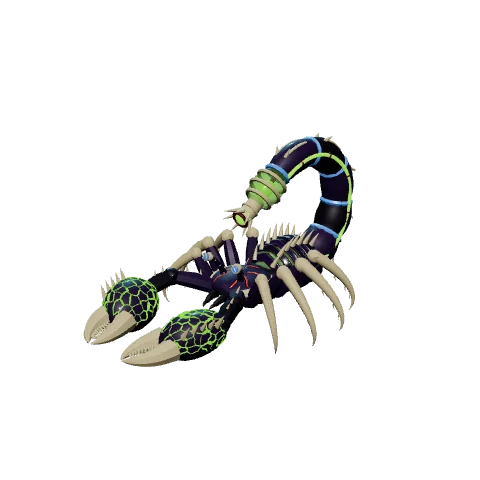
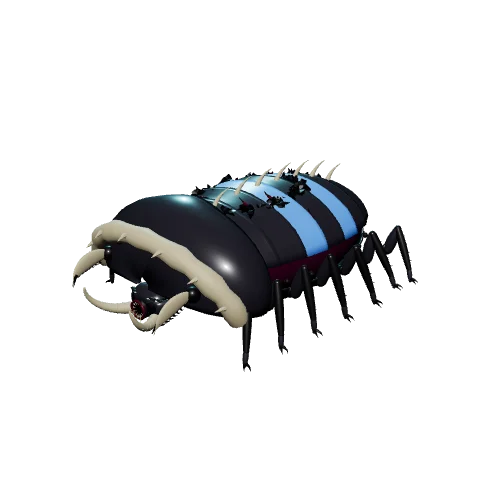
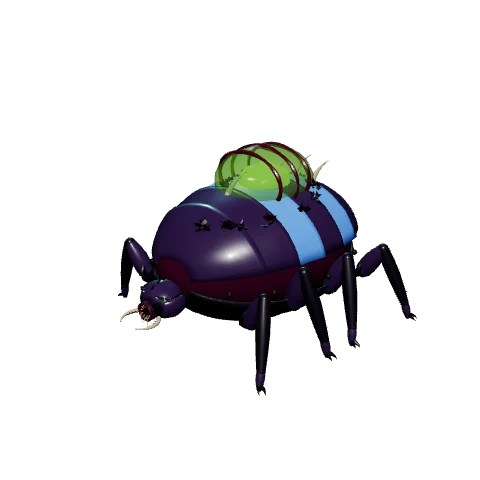
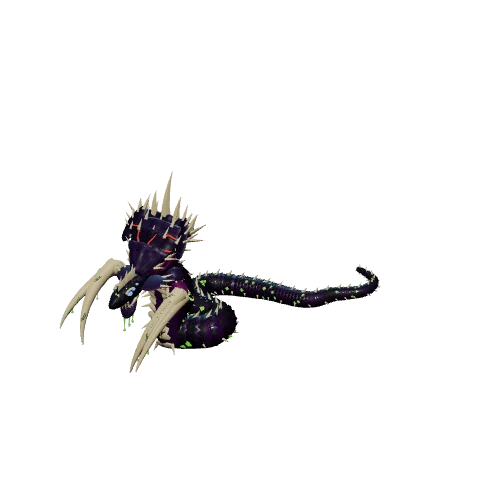
Organic swarm

Baut keine Einheiten, sondern lässt sie aus Eiern schlüpfen: Brutgebäude ziehen Eier heran, die Produktionsgebäude schalten nur frei. Auch Gebäude kommen als Eier — sie graben sich unterirdisch an ihren Platz. Statt drei Erzen zählt eine Währung, Biomasse; ein Stromnetz gibt es nicht. Das Biofeld überzieht die Karte, ernährt die Fraktion und trägt jedes Gebäude.

  • Gebäude und Einheiten regenerieren von selbst
  • Biofeld liefert Einkommen ohne Sammler-Wege
  • Sechs Kreaturen-Eigenheiten: Feldkeim, Ätzstapel, Verhärtung im Stand, Hetzrausch nach dem Abschuss, Sporenschleier gegen Flieger und die Metamorph-Wandlung auf Befehl
  • Ihre Flieger brauchen keinen Landeplatz und laden im Flug nach
  • Der Schwärmer schlüpft gleich zu zweit
  • Dünnes Chitin — die schwächste Hülle im Spiel
  • Die Produktion ist an nachwachsende Eier gedeckelt, nicht an Geld
  • Höhere Preise, langsamerer Erzabbau und deutlich längere Bauzeiten
  • Gebäude stehen nur auf Biofeld und verfallen, wenn der Boden weggeht
  • Als einzige Fraktion kein Transporter

Almost all of it sits behind research: every production building offers one combat unit to begin with, everything else you unlock in the tree.

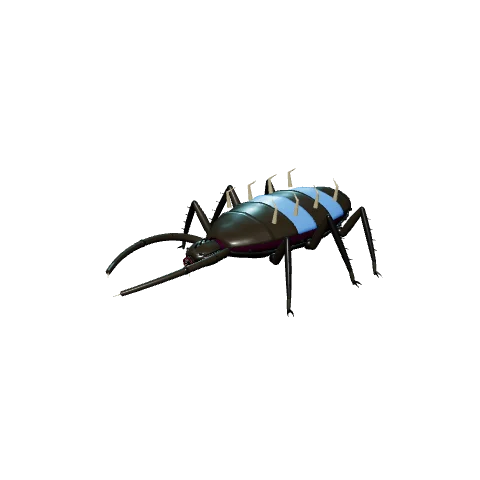
3D

Carrion Crawler

Cost
60 K
Structure
62
Speed
16 km/h
Armor
Tier 6

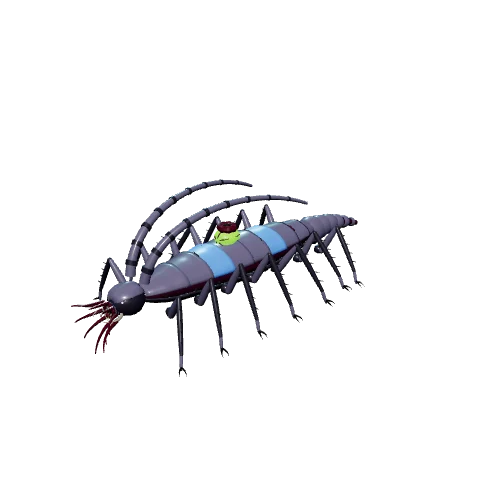
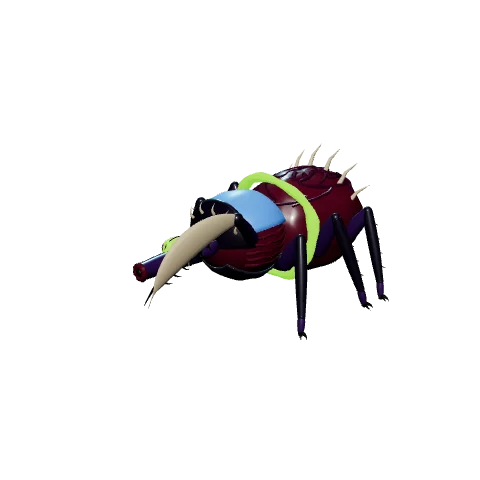
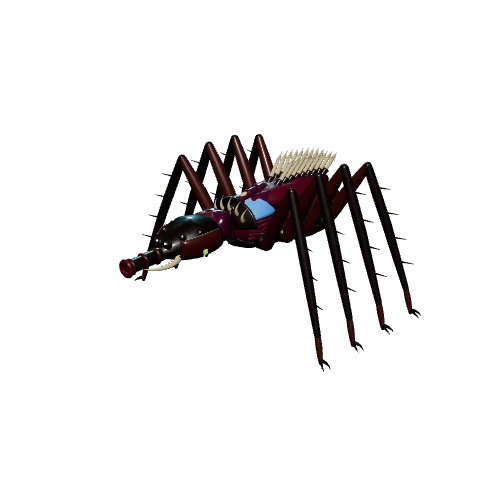
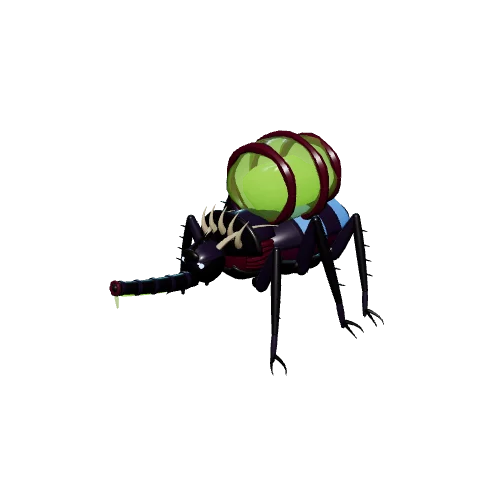
The Carrion Crawler looks for carcasses only - across the whole map. It seizes the whole corpse with its hooked jaws and drags it to the edge of its own biofield, where the ground digests it into biomass - not to the refinery; nothing rots while in transit. It never mines ore and never fights back: if it falls on the way, TWO carcasses lie there - its own and its haul.

3D

Feeler

Cost
90 K
Structure
63
Damage
20 at 27 m
Speed
22 km/h
Armor
Tier 5

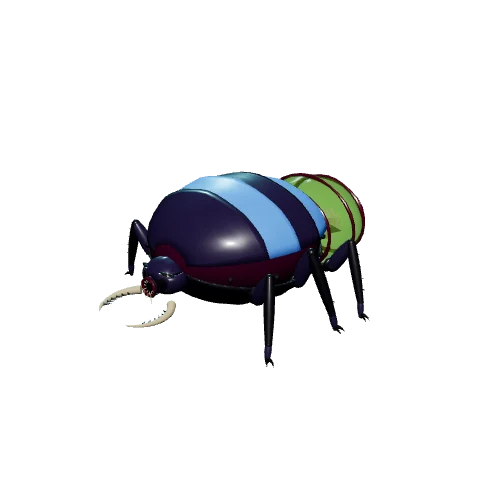
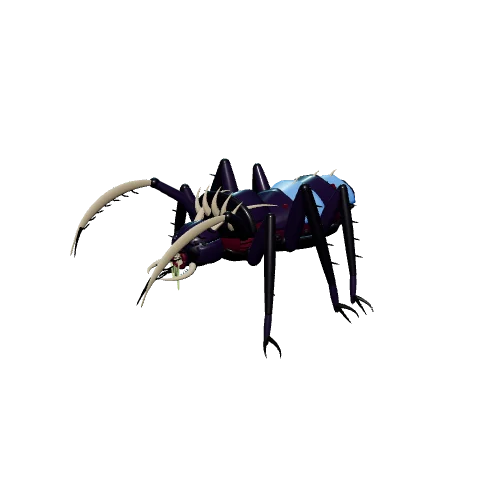
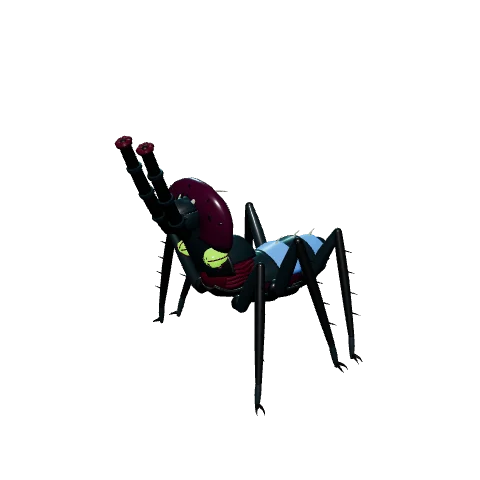
The Feeler is the Growth's scout: very fast and wide-sighted, but lightly armed - ideal for early scouting and harvester hunting. As it moves it drops field spores on its own - sight anchors that stay behind and keep the path open long after it has moved on.

3D

Bile Slinger

Cost
315 K
Structure
70
Damage
16 at 105 m
Speed
12 km/h
Armor
Tier 9

The Bile Slinger is the Growth's bio-artillery: it lobs a salvo of caustic bile globs over long range that scatter across the target zone - strong against packed troops, blind at close range.

3D

Mending Bulb

Cost
105 K
Structure
44
Speed
16 km/h
Armor
Tier 4

The Mending Bulb is the Growth's unarmed support: within its aura your units regenerate noticeably faster, and it speeds up the growth of the biofield.

3D

Blade-Wing

flyinghits air
Cost
135 K
Structure
34
Damage
16 at 41 m
Speed
30 km/h
Armor
Tier 5

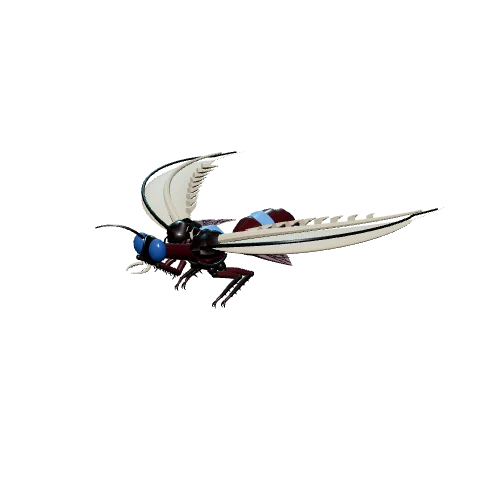
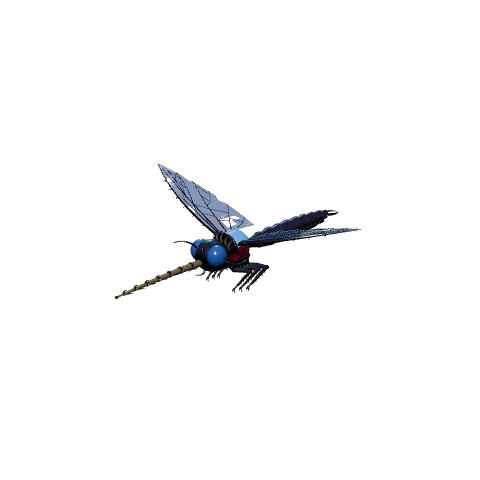
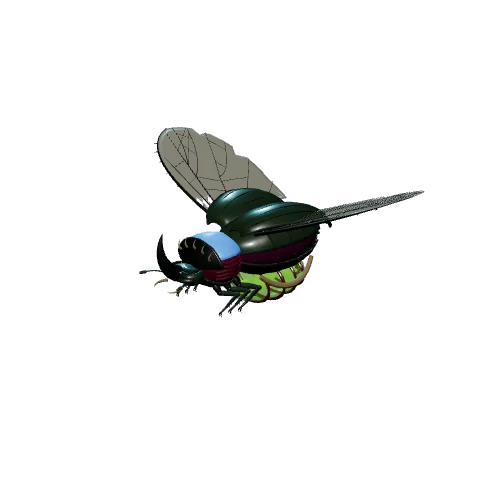
The Blade-Wing is the Growth's air superiority: a fast winged creature with blade wings that reliably downs flying targets - but is utterly helpless on the ground. Very fragile, yet nimble and cheap. Like every Growth flyer it needs no landing pad or ammunition; it hatches from the Mutation Chamber.

3D

Lurker

Cost
155 K
Structure
60
Damage
24 at 51 m
Speed
9 km/h
Armor
Tier 4

The Lurker burrows in and stays cloaked until a target comes close enough - then its precision weapon almost always hits and punches through light to medium armor. Ideal for ambushes.

3D

Metamorph

Cost
295 K
Structure
200
Damage
54 at 61 m
Speed
13 km/h
Armor
Tier 14

The Metamorph is the Growth's battle mech: a heavy beast with solid armor that can shift between two combat forms to adapt to the situation. On command it morphs between two combat forms: blade form hits hard up close, spitter form reaches much further but hits weaker and moves slower. While morphing it is defenceless.

3D

Miasma Moth

flying
Cost
245 K
Structure
34
Speed
27 km/h
Armor
Tier 5

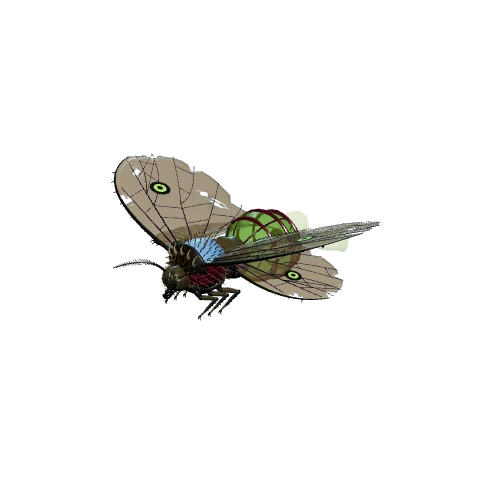
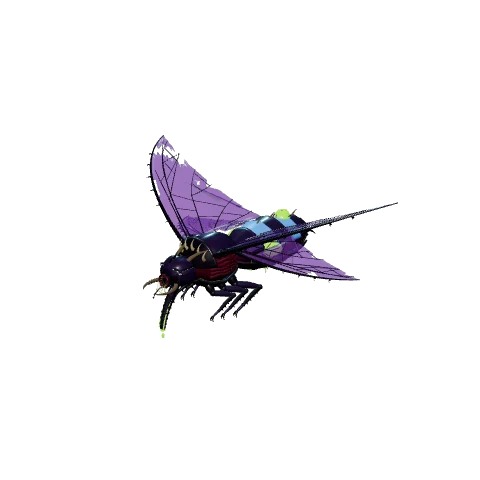
The Miasma Moth deals no direct damage - it lays a LINGERING poison cloud on a spot that corrodes everything on the ground there for several seconds. Ideal for sealing chokepoints, wearing down advancing infantry or denying a position. CAUTION: the cloud hits EVERYTHING on the ground in its radius, including your own units - place it carefully. Strong against infantry/light targets, weak against heavy armor. Like every Growth flyer it needs no landing pad or ammunition, but is very fragile. Hatches from the Mutation Chamber.

3D

Moloch Broodmother

Cost
1960 K
Structure
2472
Damage
70 at 89 m
Speed
5 km/h
Armor
Tier 25

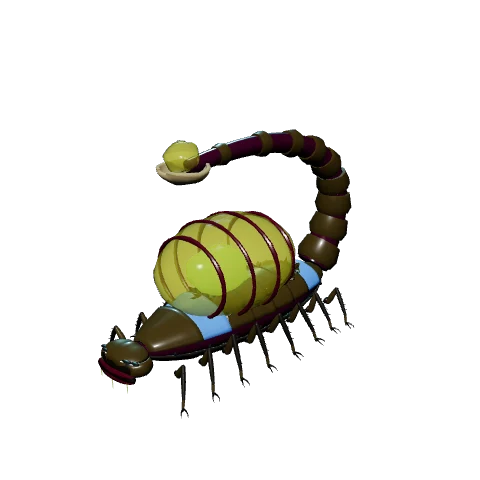
The Moloch Broodmother is an armoured colossus: it spews acid in a wide arc, and the longer it stands still the harder its chitin becomes. On the move it is more vulnerable - leave it standing and you will barely get through.

3D

Carapace Strider

Cost
195 K
Structure
142
Damage
30 at 47 m
Speed
16 km/h
Armor
Tier 13

The Carapace Strider is the Growth's all-rounder: solid cannon, solid speed, punches through medium armor. On biofield it slowly self-repairs. Standing still, a chitin hardening grows across its back within seconds and makes it far tougher - the first step costs it again.

3D

Tracker Moth

flying
Cost
245 K
Structure
26
Damage
30 at 66 m
Speed
29 km/h
Armor
Tier 5

The Tracker Moth spits homing "younglings" at its target - they hit with certainty and pursue it even as it flees. Its reach is enormous, so it strikes from safe distance. The price: it is extremely fragile and falls to the slightest counterblow. Needs neither landing pad nor ammunition; hatches from the Mutation Chamber.

3D

Runner

Cost
80 K
Structure
95
Damage
24 at 37 m
Speed
20 km/h
Armor
Tier 10

The Runner is the entry into the Growth's creature line: fast attack beast that overruns infantry and tears open light armor with its claws - only half as effective against infantry. After every kill it falls into a short frenzy and becomes noticeably faster.

3D

Acid Moth

flying
Cost
150 K
Structure
40
Damage
24 at 32 m
Speed
27 km/h
Armor
Tier 5

The Acid Moth is a winged egg-creature with a ground acid spray: its splash hits the target AND everything around it (area corrosion, strong against packed infantry). Like every Growth flier it needs neither landing pad nor ammunition - it spits without limit - but it is very fragile. Hatches from the Mutation Chamber.

3D

Acid Spitter

Cost
75 K
Structure
50
Damage
60 at 57 m
Speed
6 km/h
Armor
Tier 3

The Acid Spitter fights everything armored: its caustic acid reliably eats through vehicles and mechs, but is inferior against infantry. Every hit etches the target's armour: for a few seconds it takes noticeably more damage - and that benefits the WHOLE army, not just him.

3D

Devourer

Cost
70 K
Structure
80
Speed
13 km/h
Armor
Tier 7

The Devourer eats ore and carries it back to the refinery - it mines a quarter slower than the Steel Union harvester; the Growth makes that up through salvaged carcasses.

3D

Swarmer

Cost
35 K
Structure
50
Damage
12 at 3.2 m
Speed
15 km/h
Armor
Tier 2

The Swarmer is the Growth's basic infantry: cheap and fast, dangerous in numbers against other infantry, weak against armor. On its own biofield it regenerates quickly.

3D

Spewer

hits air
Cost
105 K
Structure
55
Damage
14 at 51 m
Speed
16 km/h
Armor
Tier 9

The Spewer is the Growth's anti-air: it spits spore salvos at air targets and reliably brings them down - on the ground it is defenseless. Its salvos leave a spore veil behind that slows any aircraft inside it without dealing damage.

3D

Spore Mother

flying
Cost
475 K
Structure
120
Speed
13 km/h
Armor
Tier 6

The Spore Mother is a flying carrier: instead of fighting herself she ejects a swarm of small flying larvae that tear the target apart and regrow over time. An expensive but hard-hitting swarm frame - defenseless once its larvae are spent. Needs no landing pad or ammunition; hatches from the Mutation Chamber.

3D

Sporeling

Cost
45 K
Structure
40
Damage
8 at 2.7 m
Speed
8 km/h
Armor
Tier 2

The Sporeling is the Growth's self-sacrifice unit: fast and cheap, it bites in melee - and on death bursts into a devastating spore cloud that catches nearby targets.

3D

Spore Slinger

flying
Cost
360 K
Structure
60
Damage
30 at 47 m
Speed
23 km/h
Armor
Tier 5

The Spore Slinger is a winged carpet bomber: on its overflight it rains five spore bombs across an area (area acid damage), devastating against packed formations and buildings. Fragile and without any anti-air - it wants to be screened by fighters. Needs no landing pad or ammunition; hatches from the Mutation Chamber.

3D

Behemoth

Cost
2025 K
Structure
920
Damage
70 at 57 m
Speed
7 km/h
Armor
Tier 20

The Behemoth is the Growth's heavyweight: a massive main weapon and thick armor - and when it falls, several Sporelings hatch from its carcass and fight on.

3D

Roller

Cost
430 K
Structure
235
Damage
58 at 54 m
Speed
13 km/h
Armor
Tier 17

The Roller is the Growth's heaviest battle beast: its massive armored body soaks up enormous punishment, crushes infantry, and punches through almost any armor. Its bone ram also breaks through walls and gates - but it is no demolition specialist.

3D

Wandering Brood

Cost
1745 K
Structure
120
Speed
9 km/h
Armor
Tier 6

The Wandering Brood is the Growth's mobile seed-cell: it crawls to any point and unfolds there into a new base that also seeds a new biofield - the only way to relocate the base or rebuild it after a loss.

3D

Atrastis

Cost
1990 K
Structure
560
Damage
45 at 5.4 m
Speed
13 km/h
Armor
Tier 20

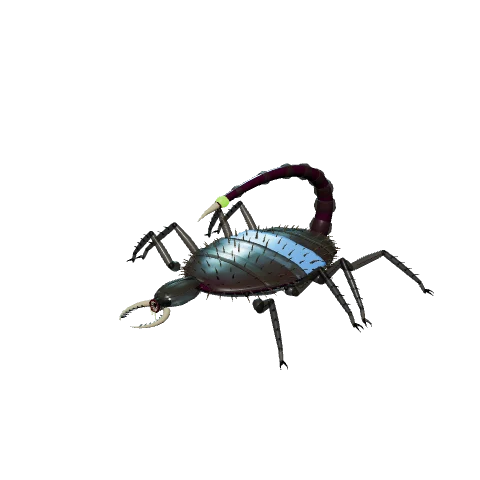
The Atrastis is an ambush reaper: cloaked, it creeps up on its prey, and the first stroke of its twin scythes from cover deals double damage. Strong against vehicles and infantry, weak against buildings. Every strike reveals it for a few seconds.

3D

Flesh Chamber

Cost
160 K
Structure
220
Armor
Tier 13
Power
-30

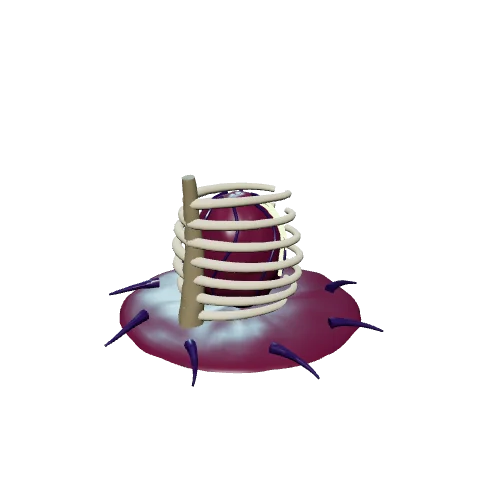
The Flesh Chamber unlocks the simple swarm creatures, the foundation of the Growth's army. Like every chamber it produces nothing itself; reinforcements ripen as eggs in the Swarm Hive and the Brood Nests.

3D

Brood Nest

Cost
115 K
Structure
300
Armor
Tier 13
Power
-30

The Brood Nest is the hatchery of the Growth: eggs grow at it continuously (up to five), and the entire army hatches from eggs. The chambers (Flesh/Chitin/Mutation) only unlock WHICH creature an egg can become - throughput depends solely on the number of brood buildings. All occupied eggs mature at the same time; if you want a bigger army, build another Brood Nest.

3D

Swarm Hive

Structure
900
Armor
Tier 13
Power
50

The Swarm Hive is the Growth's primary structure: the heart of the organism that everything else spreads out from - and a brood building in its own right, with eggs maturing at it constantly for new creatures to hatch from. You may build around it; losing it can mean immediate elimination depending on the victory mode - protect it at any cost.

3D

Detector Tower

Cost
180 K
Structure
180
Armor
Tier 15
Power
-20

The Detector Tower is an anti-stealth sensor: it reveals cloaked enemy units (Phantom, Ghost, Wraith and others) within a wide radius, so your units and towers can see and fire on them. Unarmed itself - a pure reconnaissance structure against the stealth meta. Requires a radar.

3D

Thorn Bed

Cost
115 K
Structure
180
Damage
5.6 at 24 m
Armor
Tier 15
Power
-15

The Thorn Bed is the Growth's anti-swarm organ: a buried root field that erupts bone thorns from the ground in pulses - each pulse hits ALL hostile ground units in the field at once. The denser the enemy advances, the more it costs them. Shorter reach than an MG nest, and blind to anything outside - and to the air.

3D

Primal Maw

Cost
1915 K
Structure
450
Armor
Tier 13
Power
-80

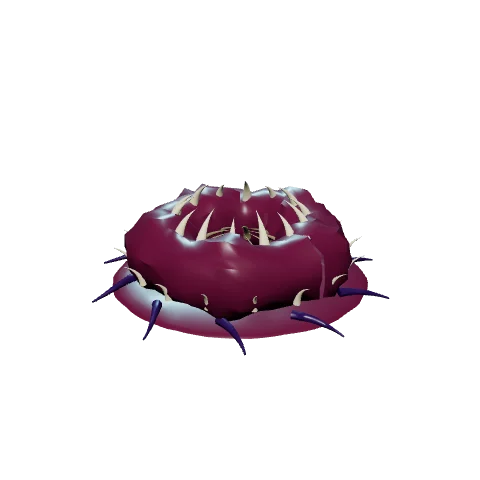
The Primal Maw is the Growth's most expensive but most powerful hatchery - the monstrous experimental creature ripens here.

3D

Mutation Chamber

Cost
420 K
Structure
350
Armor
Tier 13
Power
-50

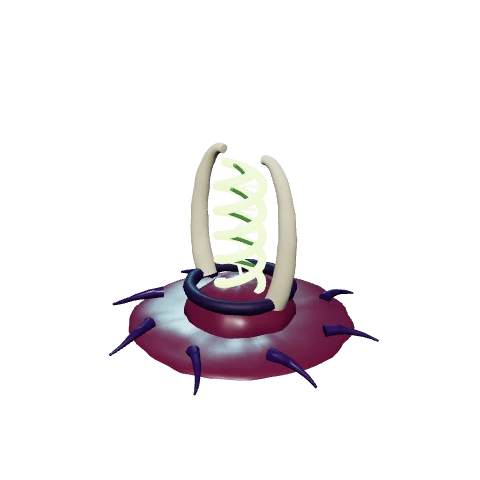
The Mutation Chamber unlocks the mutated and winged creatures. Like every Growth chamber it is a pure unlocker - it produces nothing itself, it only dictates what an egg can become; hatching happens in the brood buildings.

3D

Whip Vine

Cost
245 K
Structure
240
Damage
32 at 62 m
Armor
Tier 15
Power
-30

The Whip Vine is the armor-cracker among the defense organs: a long tentacle strikes without warning - the blow lands instantly, there is no projectile to dodge. Infantry is hurled back a step by the lash. Strong against heavy targets, too slow against swarms.

3D

Eye Bulb

Cost
150 K
Structure
200
Armor
Tier 13
Power
-75

The Eye Bulb has two jobs: it unlocks the minimap, and within its radius the fog veil lifts over ground you have already explored - enemy units there become visible too. It does NOT reveal territory you have never scouted. Late in the research tree comes the choice: extend that coverage across the entire explored map, or remove your own forces from all enemy long-range detection.

3D

Digestion Pit

Cost
115 K
Structure
400
Armor
Tier 13
Power
-25

The Digestion Pit breaks ore down into Biomass and comes with a Devourer on construction. Devourers deliver exclusively to the pit - the closer it sits to the ore, the shorter the trips and the more Devourers can work efficiently side by side.

3D

Tube Tentacle

hits air
Cost
260 K
Structure
300
Damage
52 at 92 m
Armor
Tier 15
Power
-25

The Tube Tentacle is the Growth's air defense: an upright tentacle spits glowing spore orbs at aircraft. Slower rate than a flak gun, but the orb BURSTS at the target and catches nearby fliers - good against moth and drone swarms. Cannot engage ground targets. Requires an Eye Bulb.

3D

Sling Tongue

Cost
555 K
Structure
220
Damage
62 at 92 m
Armor
Tier 15
Power
-35

The Sling Tongue is the Growth's long-range defense: a tongue hurls swollen bile sacs in a high arc, outranging every siege weapon - acid splash damage on impact, dangerous to your own creatures too. It is blind at close range; infantry and fast melee counter it. Requires a Gene Chamber.

3D

Maw Gate

Cost
2475 K
Structure
550
Armor
Tier 15
Power
-80

The Maw Gate is the Growth's superweapon - not a weapon but a strategic relocation: the first click opens a tunnel entrance on your own biofield and starts a 30-second window. During it you send your units into the entrance - whoever reaches it vanishes into the tunnel. The second click sets the exit anywhere on the map; after a brief warning all who entered burst out of the ground there together - ideal for surprise attacks and flanks. WARNING: if the Maw Gate is destroyed while units are in the tunnel, they are lost.

3D

Swarm Core

Cost
105 K
Structure
260
Armor
Tier 13

The Swarm Core is the power-plant substitute of the currentless Blight: instead of energy it raises the UNIT LIMIT - maturing eggs included. It occupies no slot itself and can always be built when the population runs full.

3D

Wing Hollow

Cost
250 K
Structure
320
Armor
Tier 13
Power
-40

The Wing Hollow unlocks the Growth's winged forms - Blade Wing, Acid Moth, Tracker Moth, Miasma Moth, Spore Sling and Spore Mother. Like every chamber it is a pure unlocker: hatching still happens in the eggs of the brood buildings. Unlike the other factions' landing pads it needs no runway and no rearming - the wings stay aloft until they fall. Requires a Chitin Chamber: whoever wants to fly has invested in the ground line first.

3D

Biodepot

Cost
115 K
Structure
300
Armor
Tier 13
Power
-5

The Biodepot increases storage capacity for Biomass. The command center and refineries provide a base capacity - once the store is full, loaded Devourers stop and wait until space frees up again (the economy stalls rather than wasting surplus). Since the Growth keeps everything in ONE currency, a single depot buffers the entire stock.

3D

Spear Root

Cost
195 K
Structure
180
Damage
40 at 70 m
Armor
Tier 15
Power
-20

The Spear Root is the precision shot without a marksman: an underground root breaks a bone spike out of the ground DIRECTLY BENEATH the target - at long range, with a brief warning. A crack in the ground announces the spike; keep moving and you can escape it. High single-target damage against infantry and light targets.

3D

Spore Tower

hits air
Cost
75 K
Structure
240
Damage
7 at 54 m
Armor
Tier 13
Power
-10

The Spore Tower is a deployable biofield spreader with a wide reach. Placed at the edge of your own field, it drives the biofield across the map - and you can only build ON the biofield. This is how the Growth expands its territory tower by tower. It too can only be placed on existing biofield; requires a power plant.

3D

Gene Chamber

Cost
480 K
Structure
250
Armor
Tier 13
Power
-60

The Gene Chamber is the Growth's research forge: upgrade levels for the creatures (swarm, creature-vehicles, beasts) are researched here. A completed level takes effect immediately and on ALL of your units - including the ones grown long ago.

3D

Titan Cocoon

Cost
2725 K
Structure
520
Armor
Tier 13
Power
-110

The Primeval Trench is the second maturation stage beyond the Primal Maw and thus the Growth's most expensive build gate. The Moloch Broodmother ripens here.

3D

Chitin Chamber

Cost
285 K
Structure
300
Armor
Tier 13
Power
-50

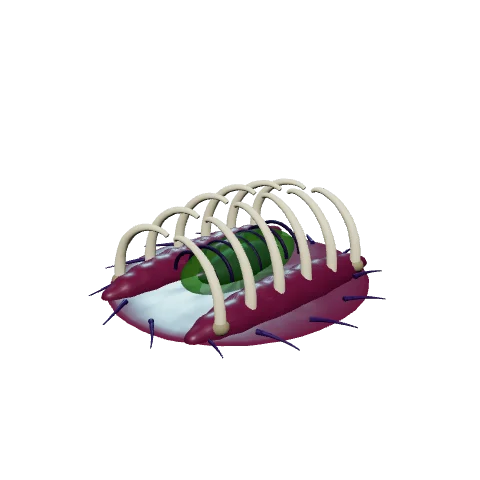
The Chitin Chamber unlocks the Growth's heavy, armored creatures - unlike a factory it PRODUCES nothing itself, it only decides which creature an egg is allowed to hatch into. Brooding happens exclusively in the brood buildings (Swarm Hive and Brood Nests).

Nothing found.

Loading model…
Drag to rotate, scroll to zoom